SYMMETRICAL NAME DESIGN
|
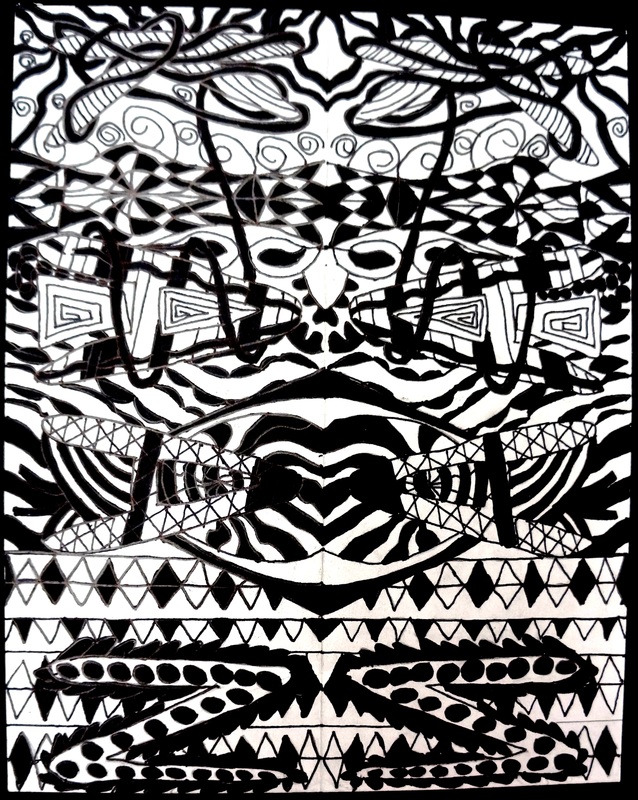
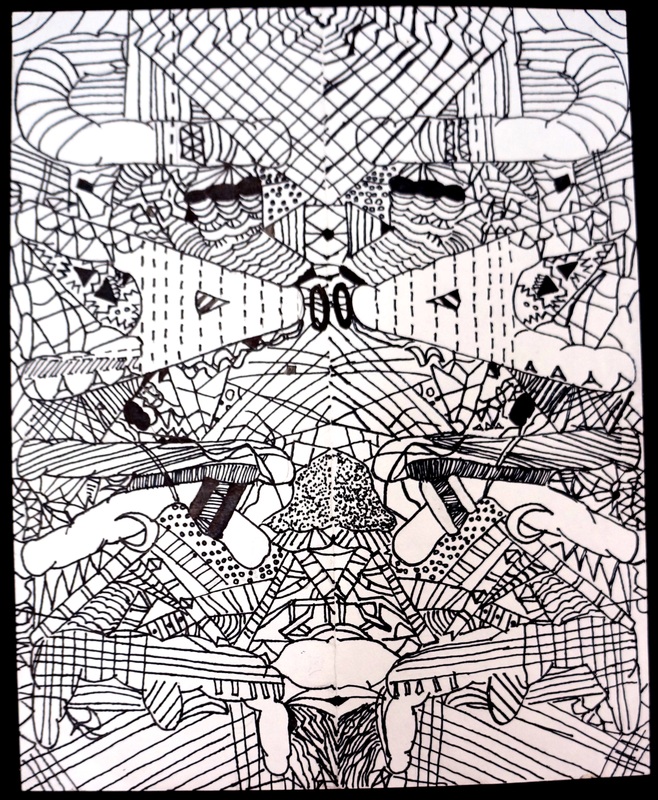
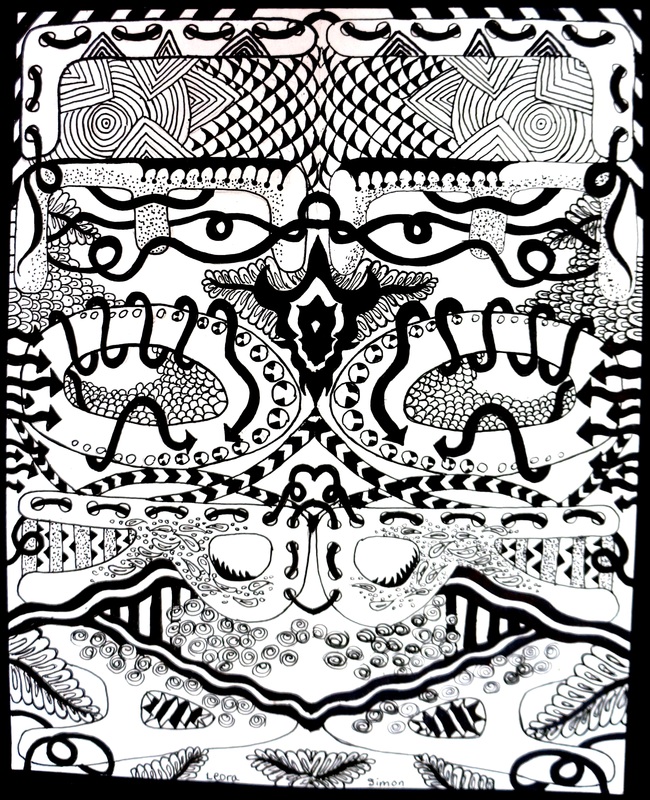
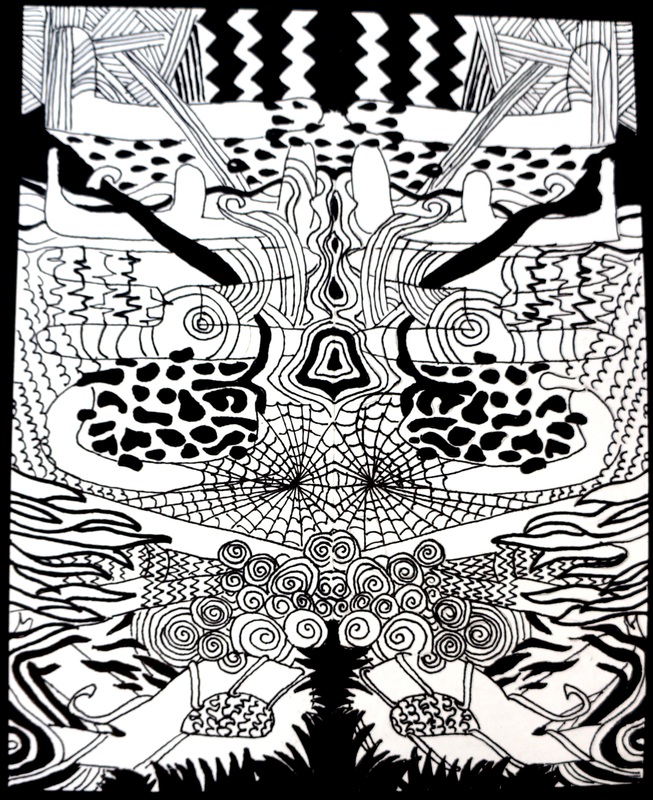
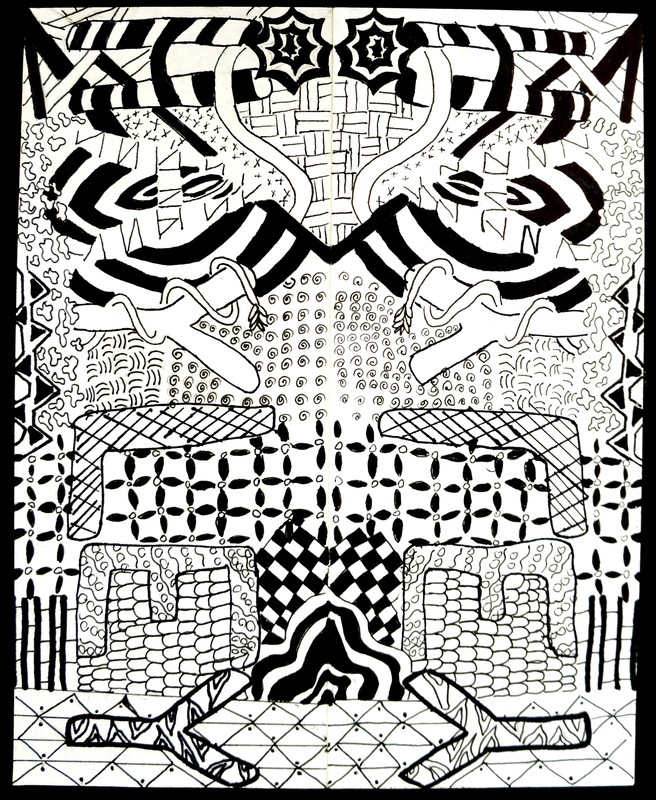
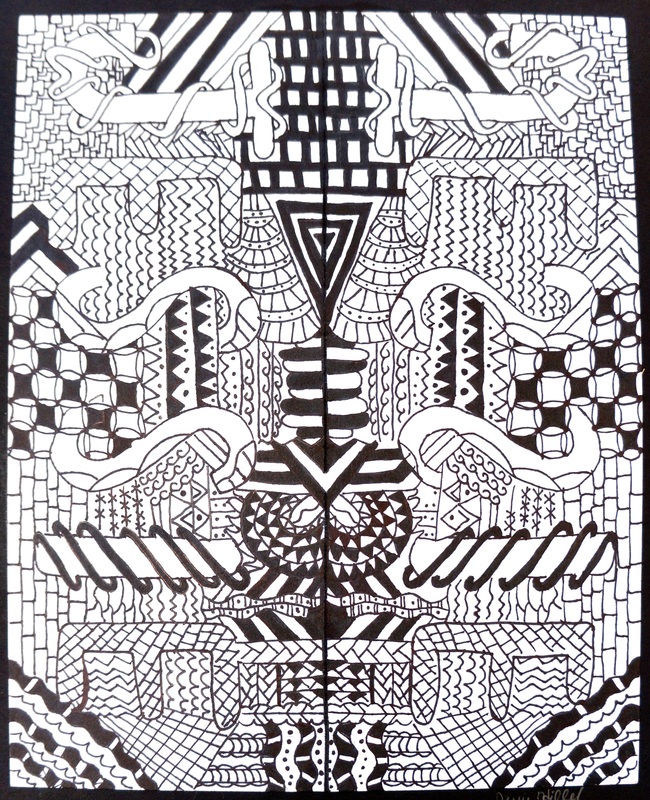
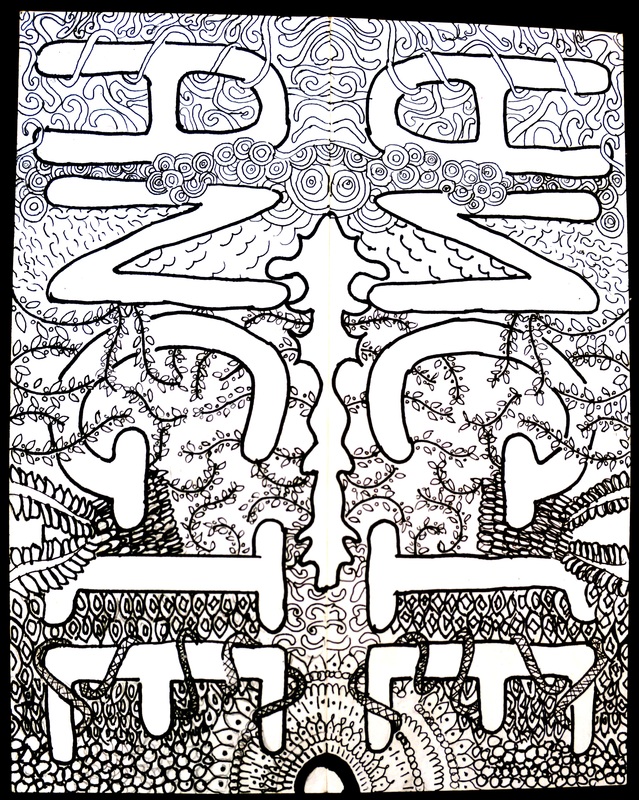
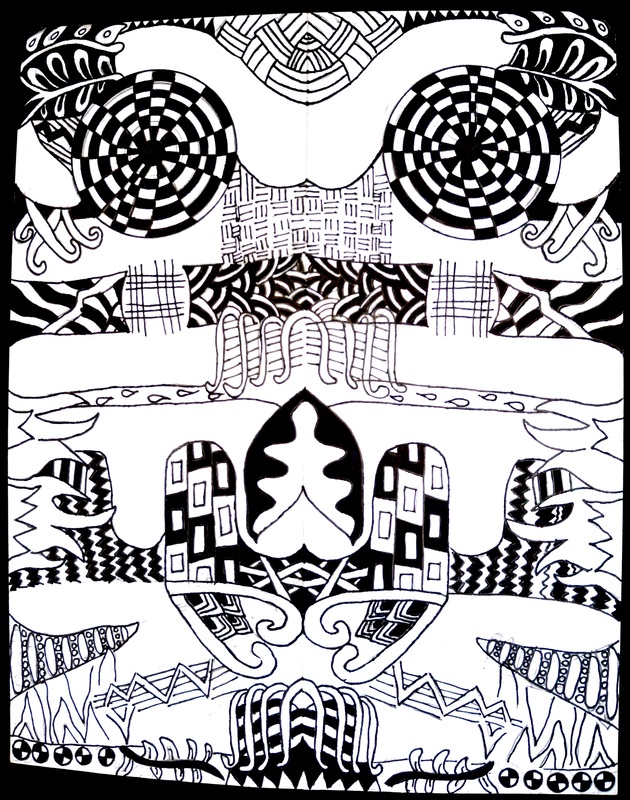
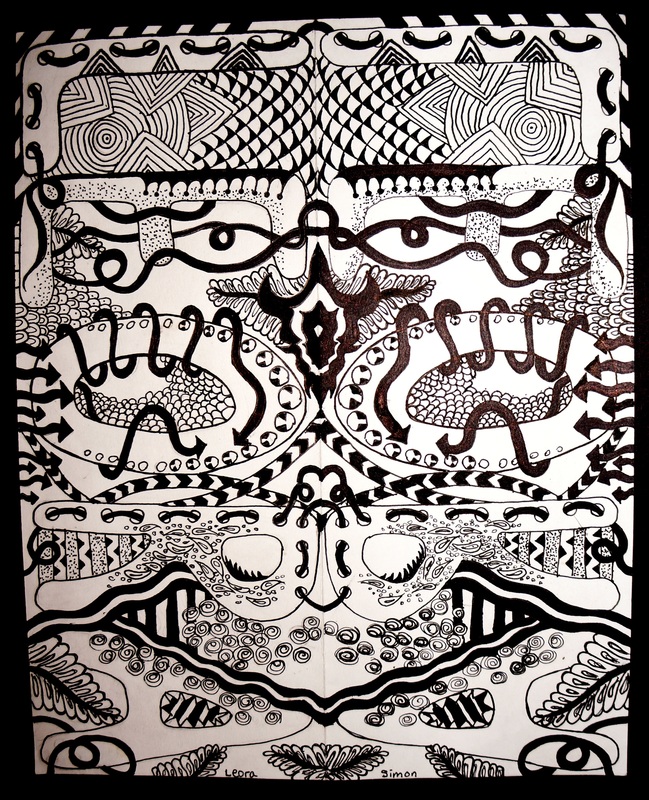
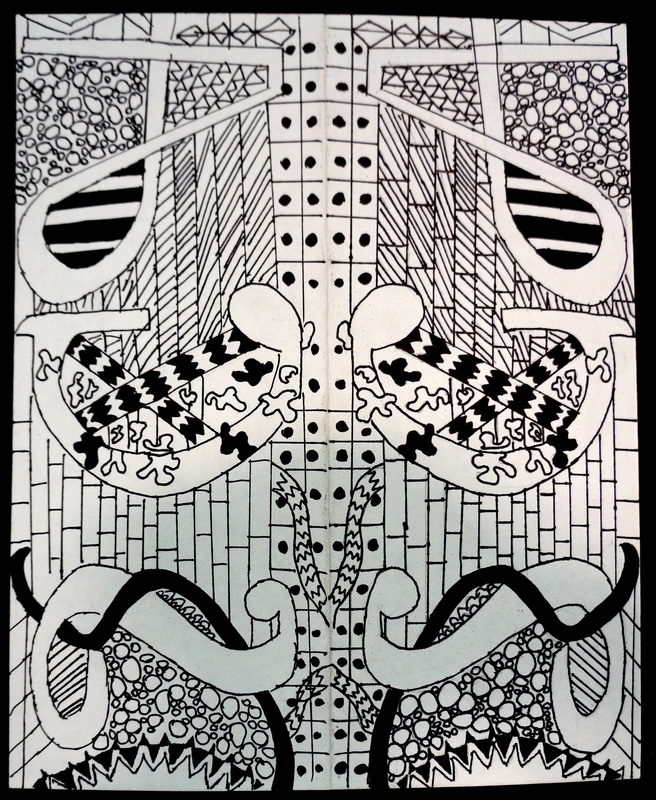
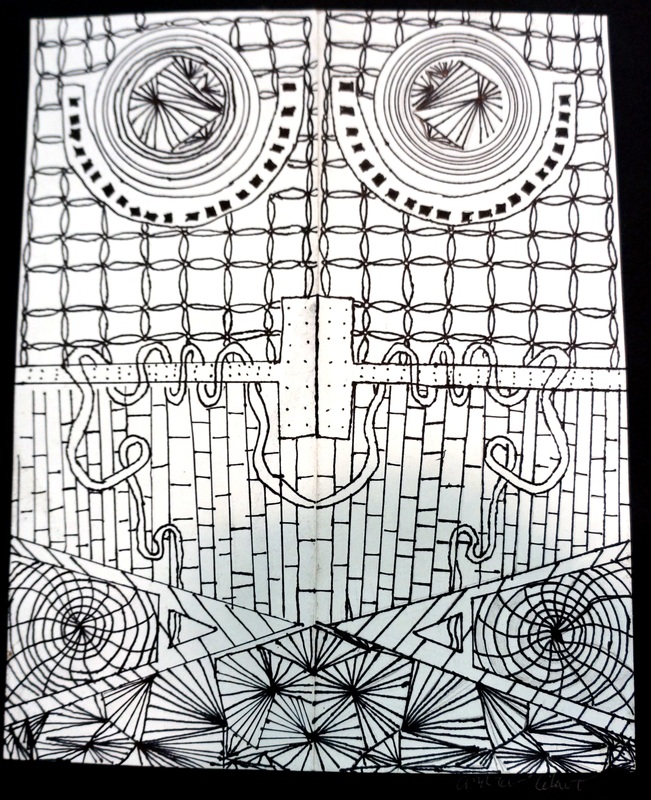
DESIGN BRIEF: Create a free flowing DESIGN that incorporates an understanding of the Elements & Principles of Art & Design discussed. Your final result should be a striking positive and negative space design incorporating symmetry, balance and a unified composition. Your design should showcase your skills; push your limits.
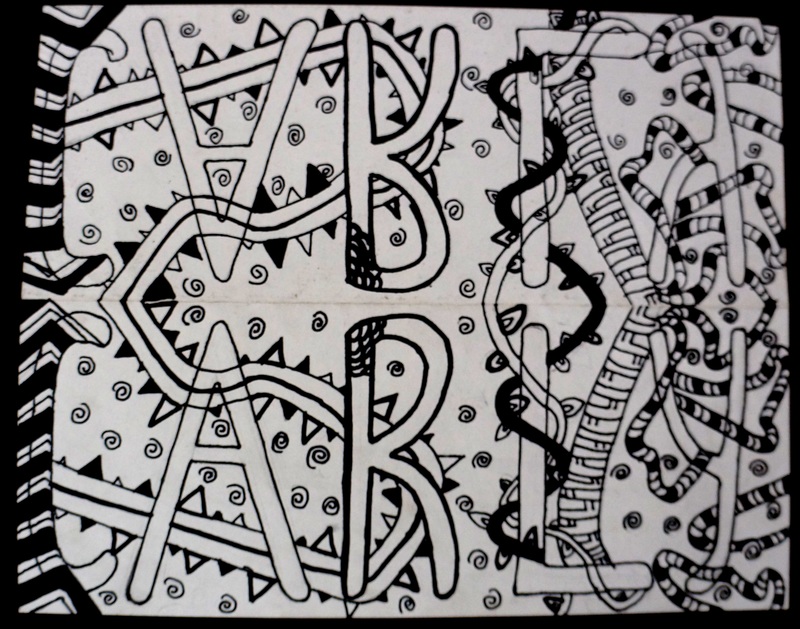
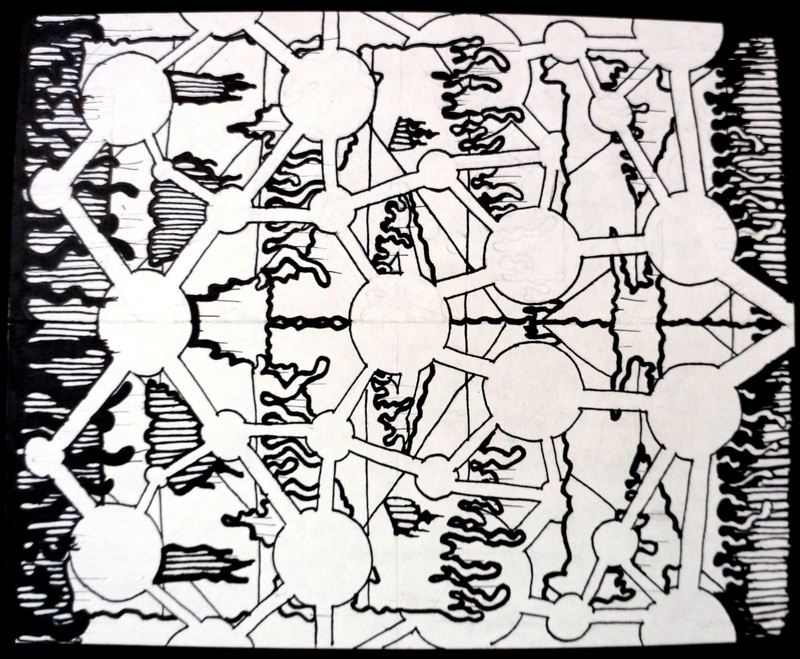
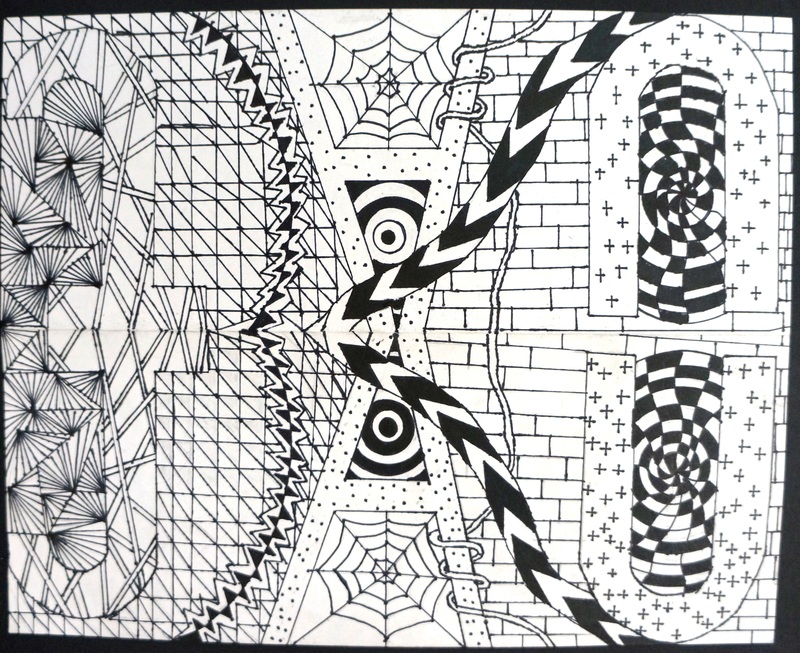
VOCABULARY: Positive & Negative Space, Unity, Balance, Rhythm, Pattern, Zentangle, Line Weight (thick vs thin), Contrast, Overlapping, Cropping, Graphite Transfer Method, Light Box Transfer. PROCEDURE: 1. Use final quality paper to start. Fold in half "like a hot dog." DRAW LIGHTLY IN PENCIL. Design bubble, block or other fancy lettering using your first name, last name, or initials in pencil. Fill the space from top to bottom and left to right. Refer to Elements & Principles of Art (Credit: Ms. Gomez) worksheet for ideas. 2. Use patterns, shapes and Zentangle-like designs (see class packets) to create a free flowing design under, over and within your lettering. Patterns can have a theme or can be random. Shapes and patterns that can be filled in with repeating sharpie marker later on. Rhythm & Repetition of shape and pattern should be considered. Use cropping, overlapping and consider your entire SPACE. If you are having difficulty figuring out how to fill the space use should break up the background using curvy swirly lines, or straight lines. This will create more shapes. Please see me and I will show you how! 3. Design the entire bottom first, then, TRANSFER to the opposite side to create your symmetrical design. Design should be balanced on both sides. Transfer by using light box, window, or rub transfer method. See teacher demonstration. If you are using a lightbox or window (most do) then you will have to outline your pencil lines in Ultra fine sharpie marker first! Otherwise, you will not see through your paper well enough to trace the lines. 4. After you have transferred your design, use inking pen and/or extra fine/fine point sharpie marker to first slowly and carefully OUTLINE your entire design. Remember good quality craftsmanship whenever possible! 5. Erase all pencil marks with large eraser. 6. Now, carefully go back and fill in the positive and negative spaces within your pattern using extra fine and fine point sharpie markers. Black/white pattern throughout. 7. Using rubber cement, by the window, glue your work onto a black mat. This border will make your work POP! This will be discussed and is not done every year. |
Mrs. Conte
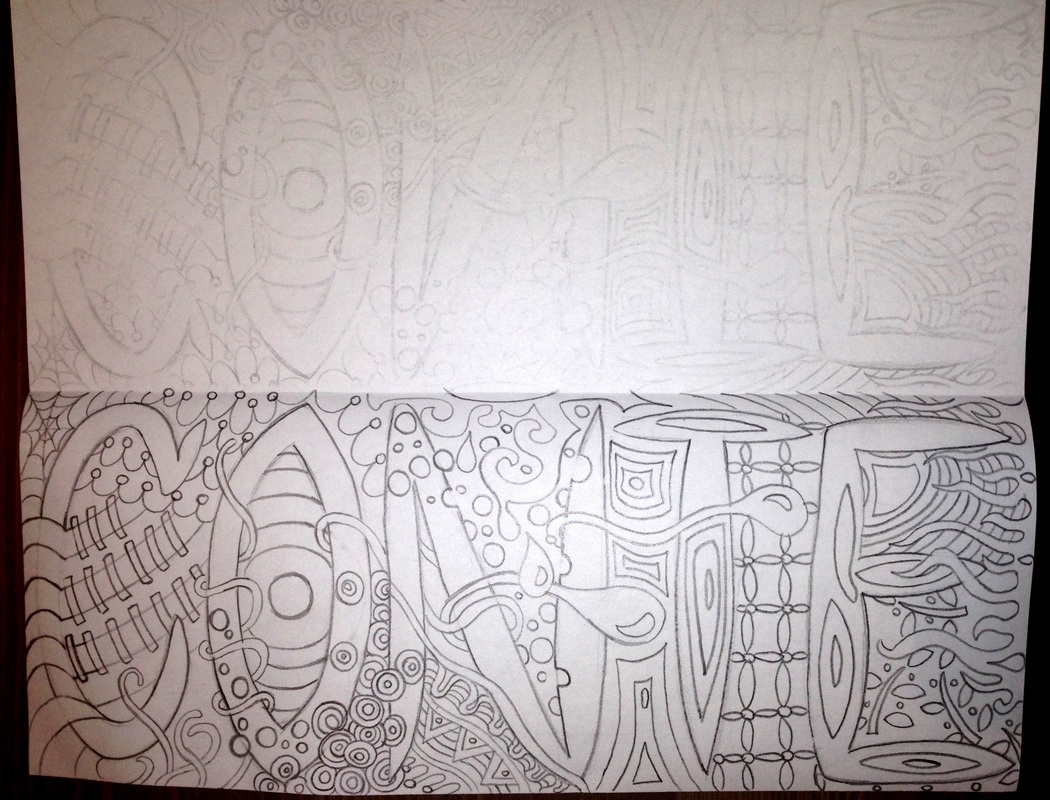
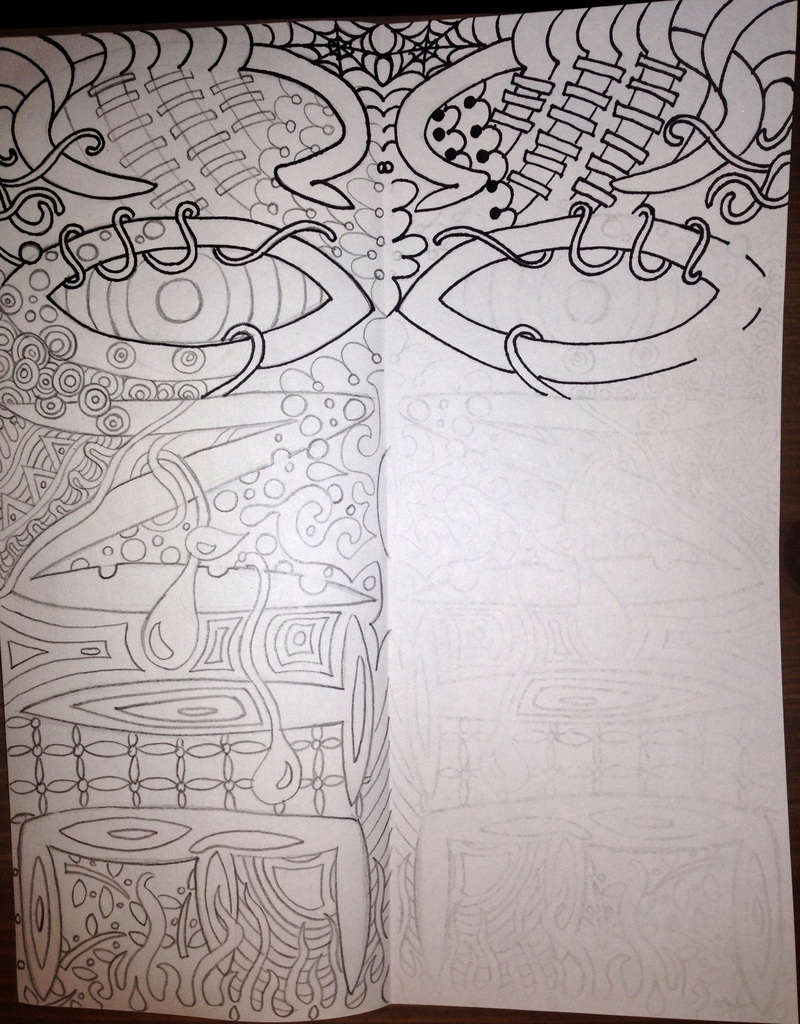
Steps 1-3
Tip: You may have to darken your original image in pencil to be able to perform the rub transfer or light box transfer method.
|
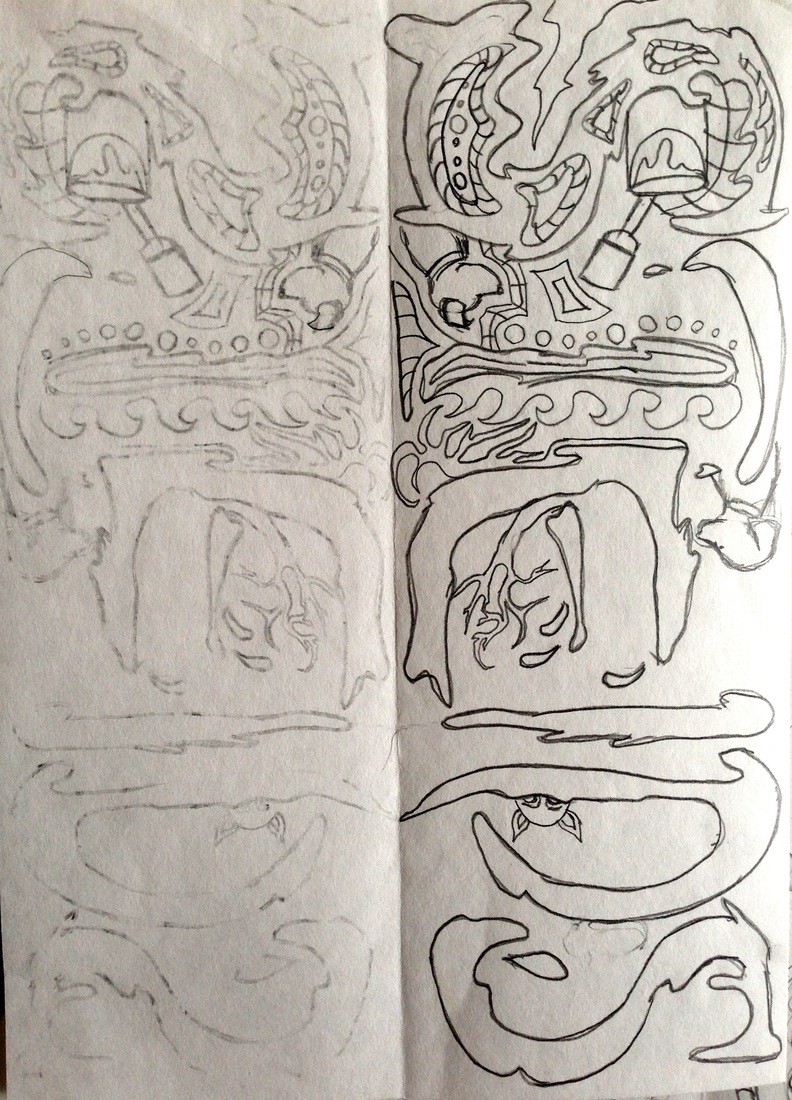
Mrs. Steiding
Steps 1-3
|
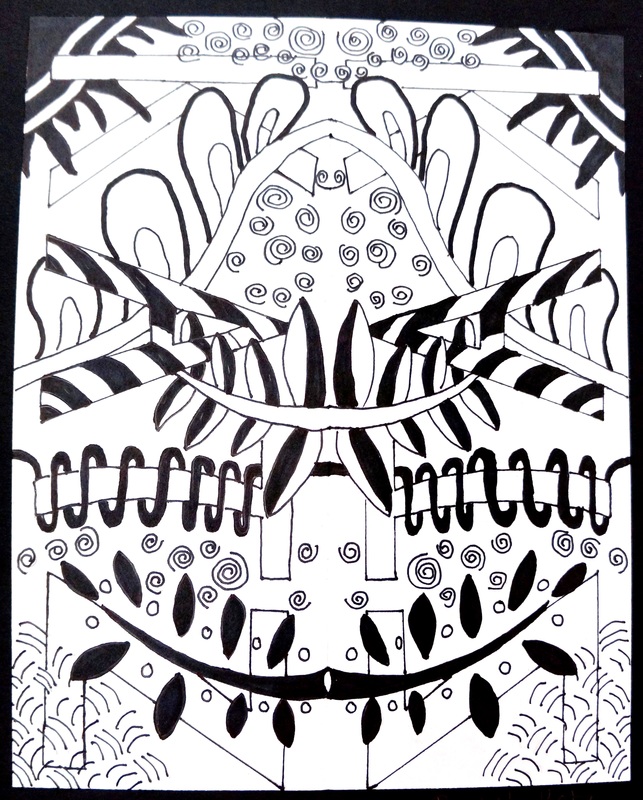
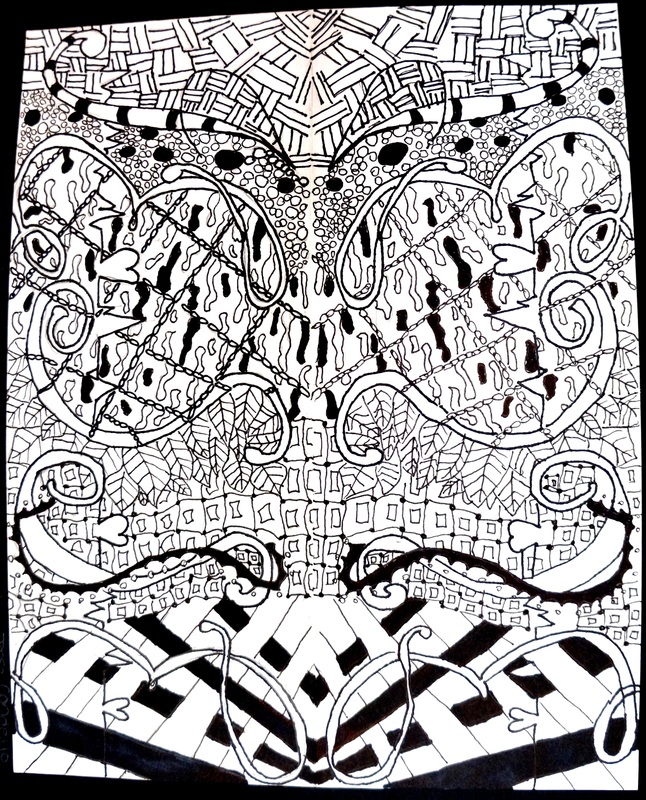
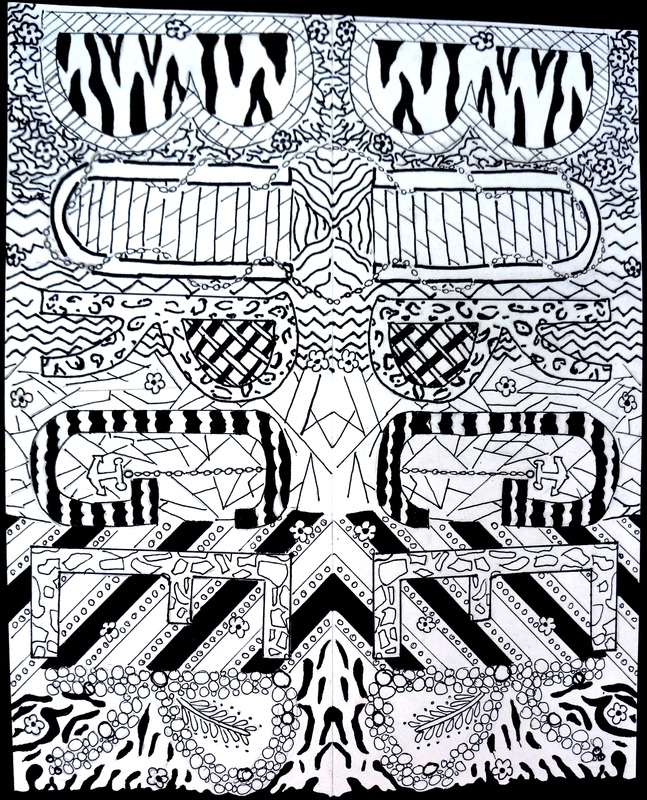
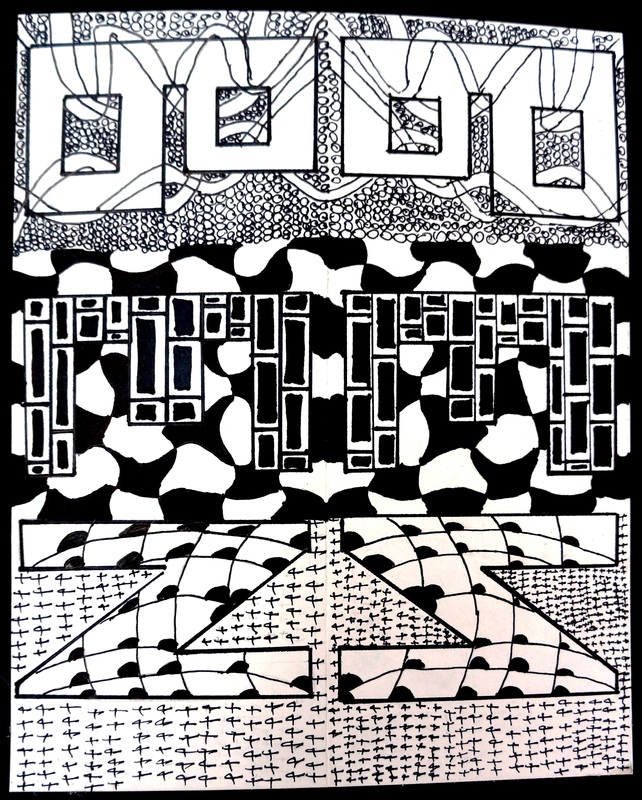
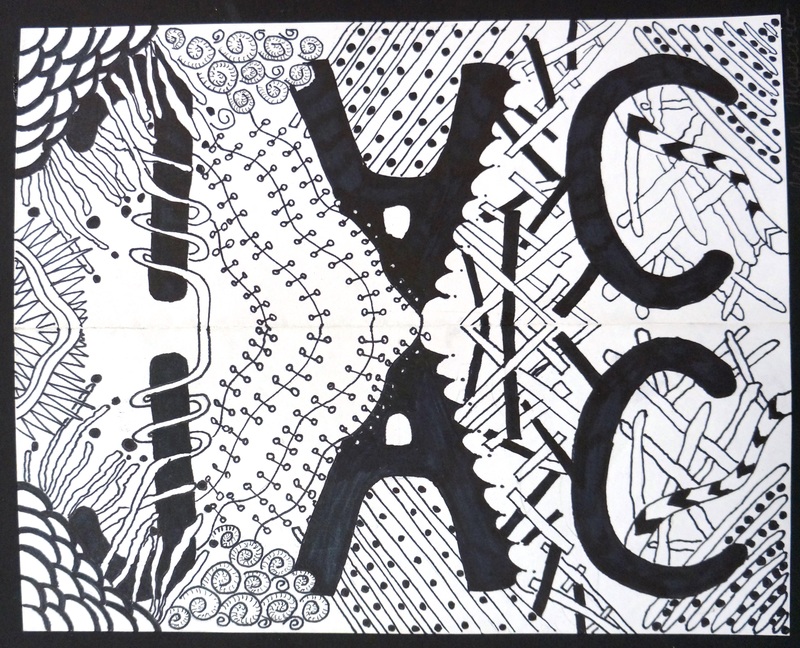
Step 4
|
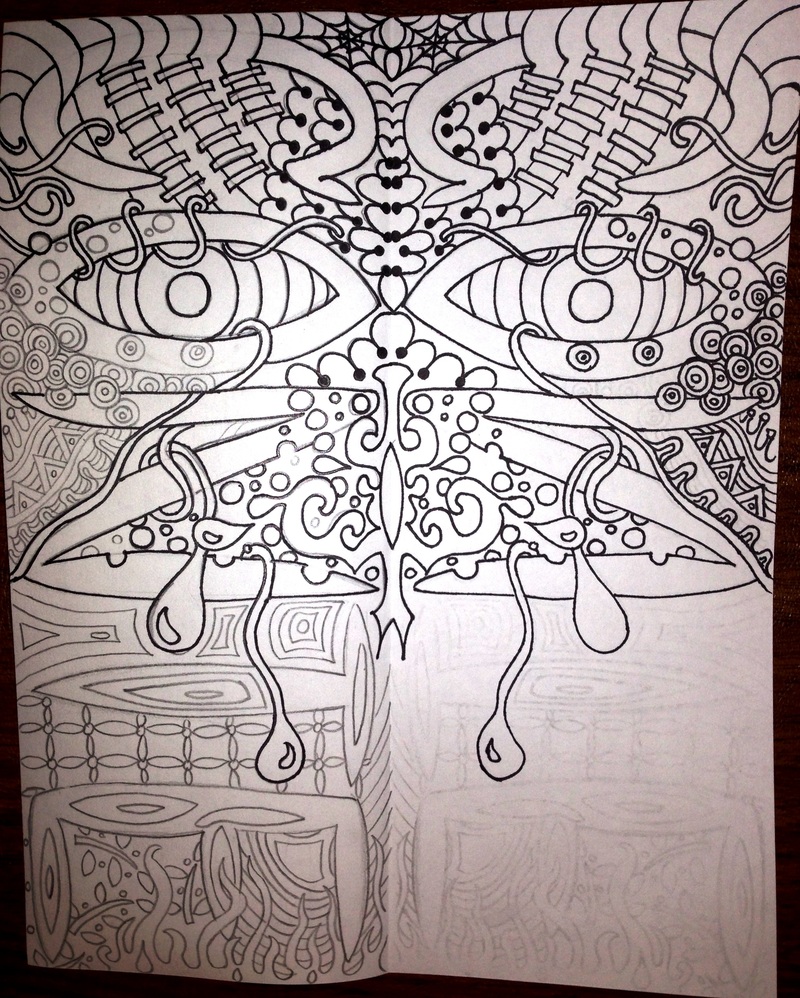
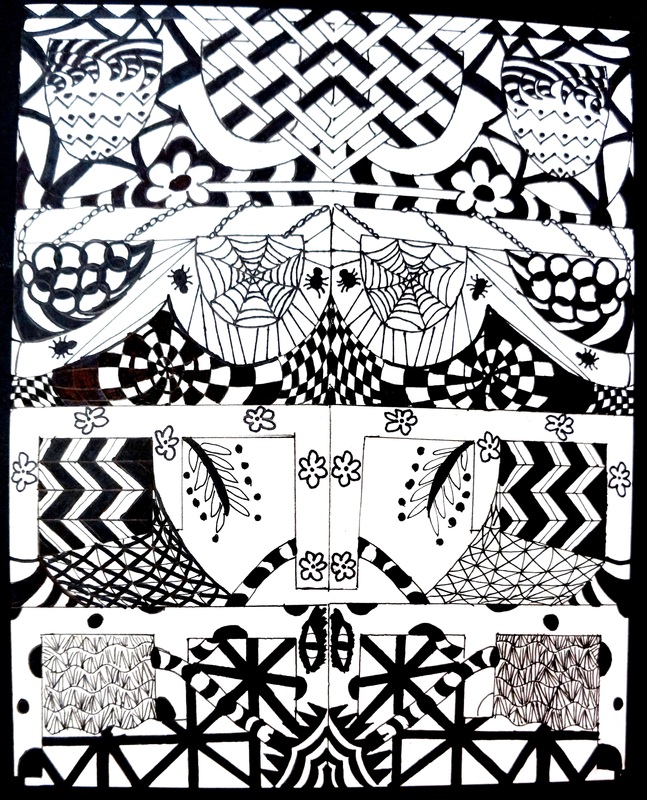
Step 4
|
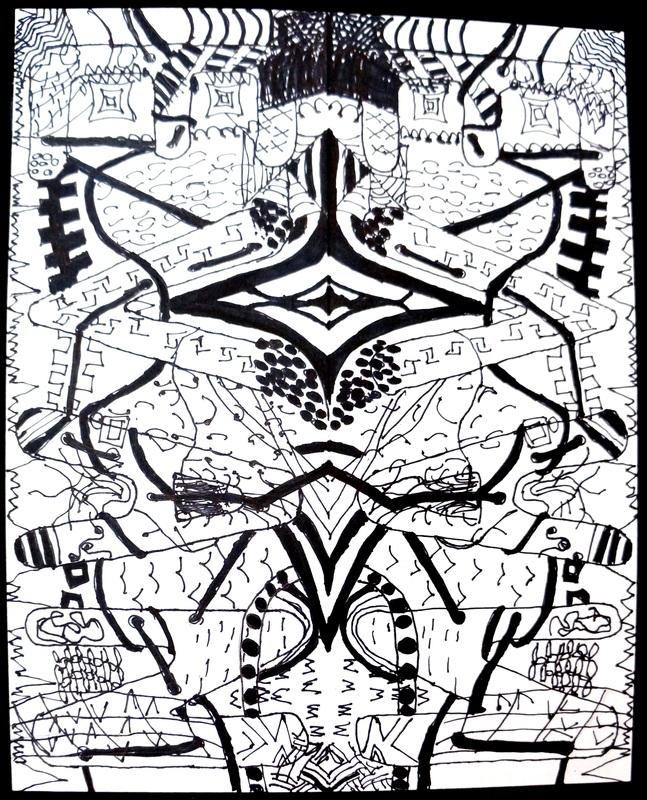
Step 4
|

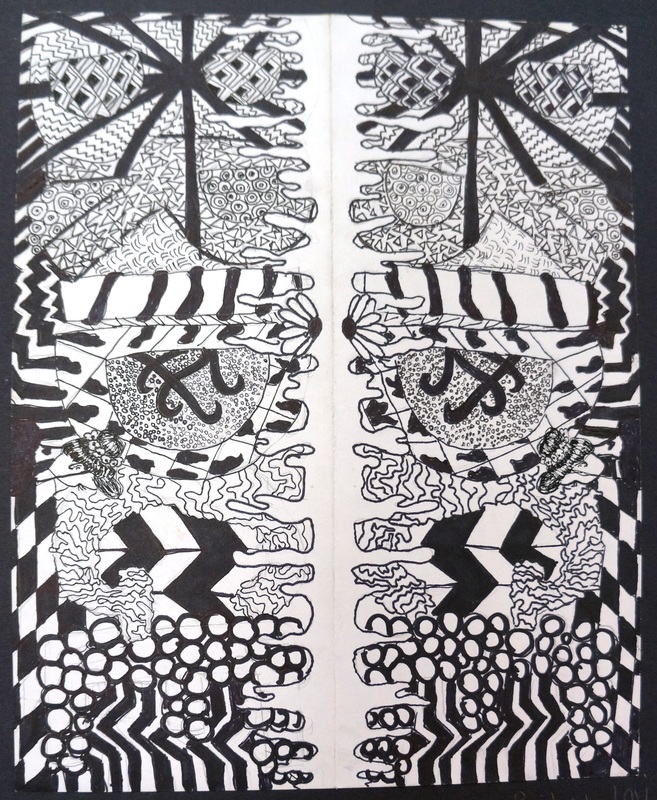
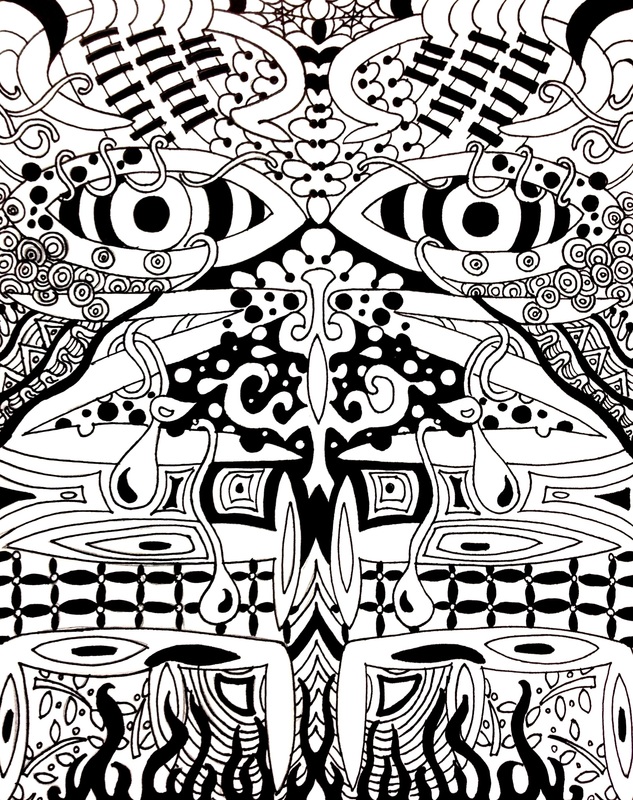
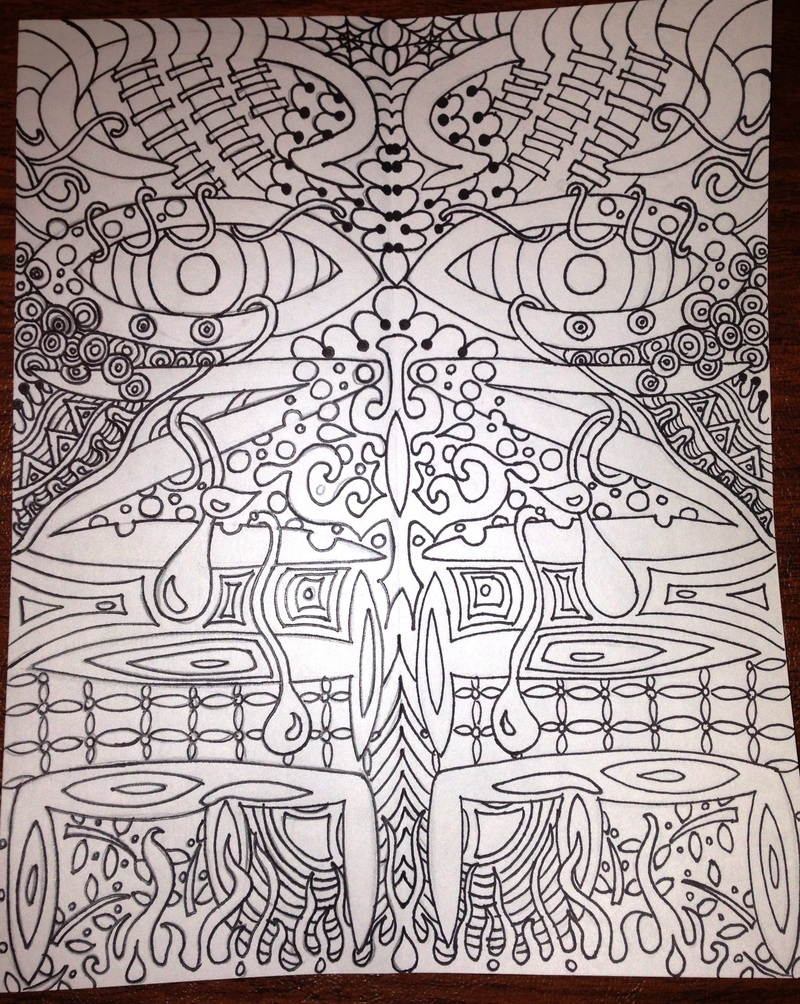
Step 6
|